Back
last October,I had a bright idea. More than a year before, someone had
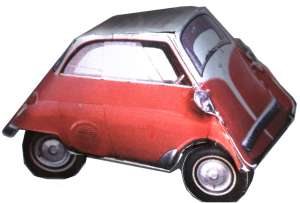
sent me this image which is a cut and
fold Isetta. I thought it was an interesting idea, and cleaned up the
image a bit, but it still isn't a very good likeness.
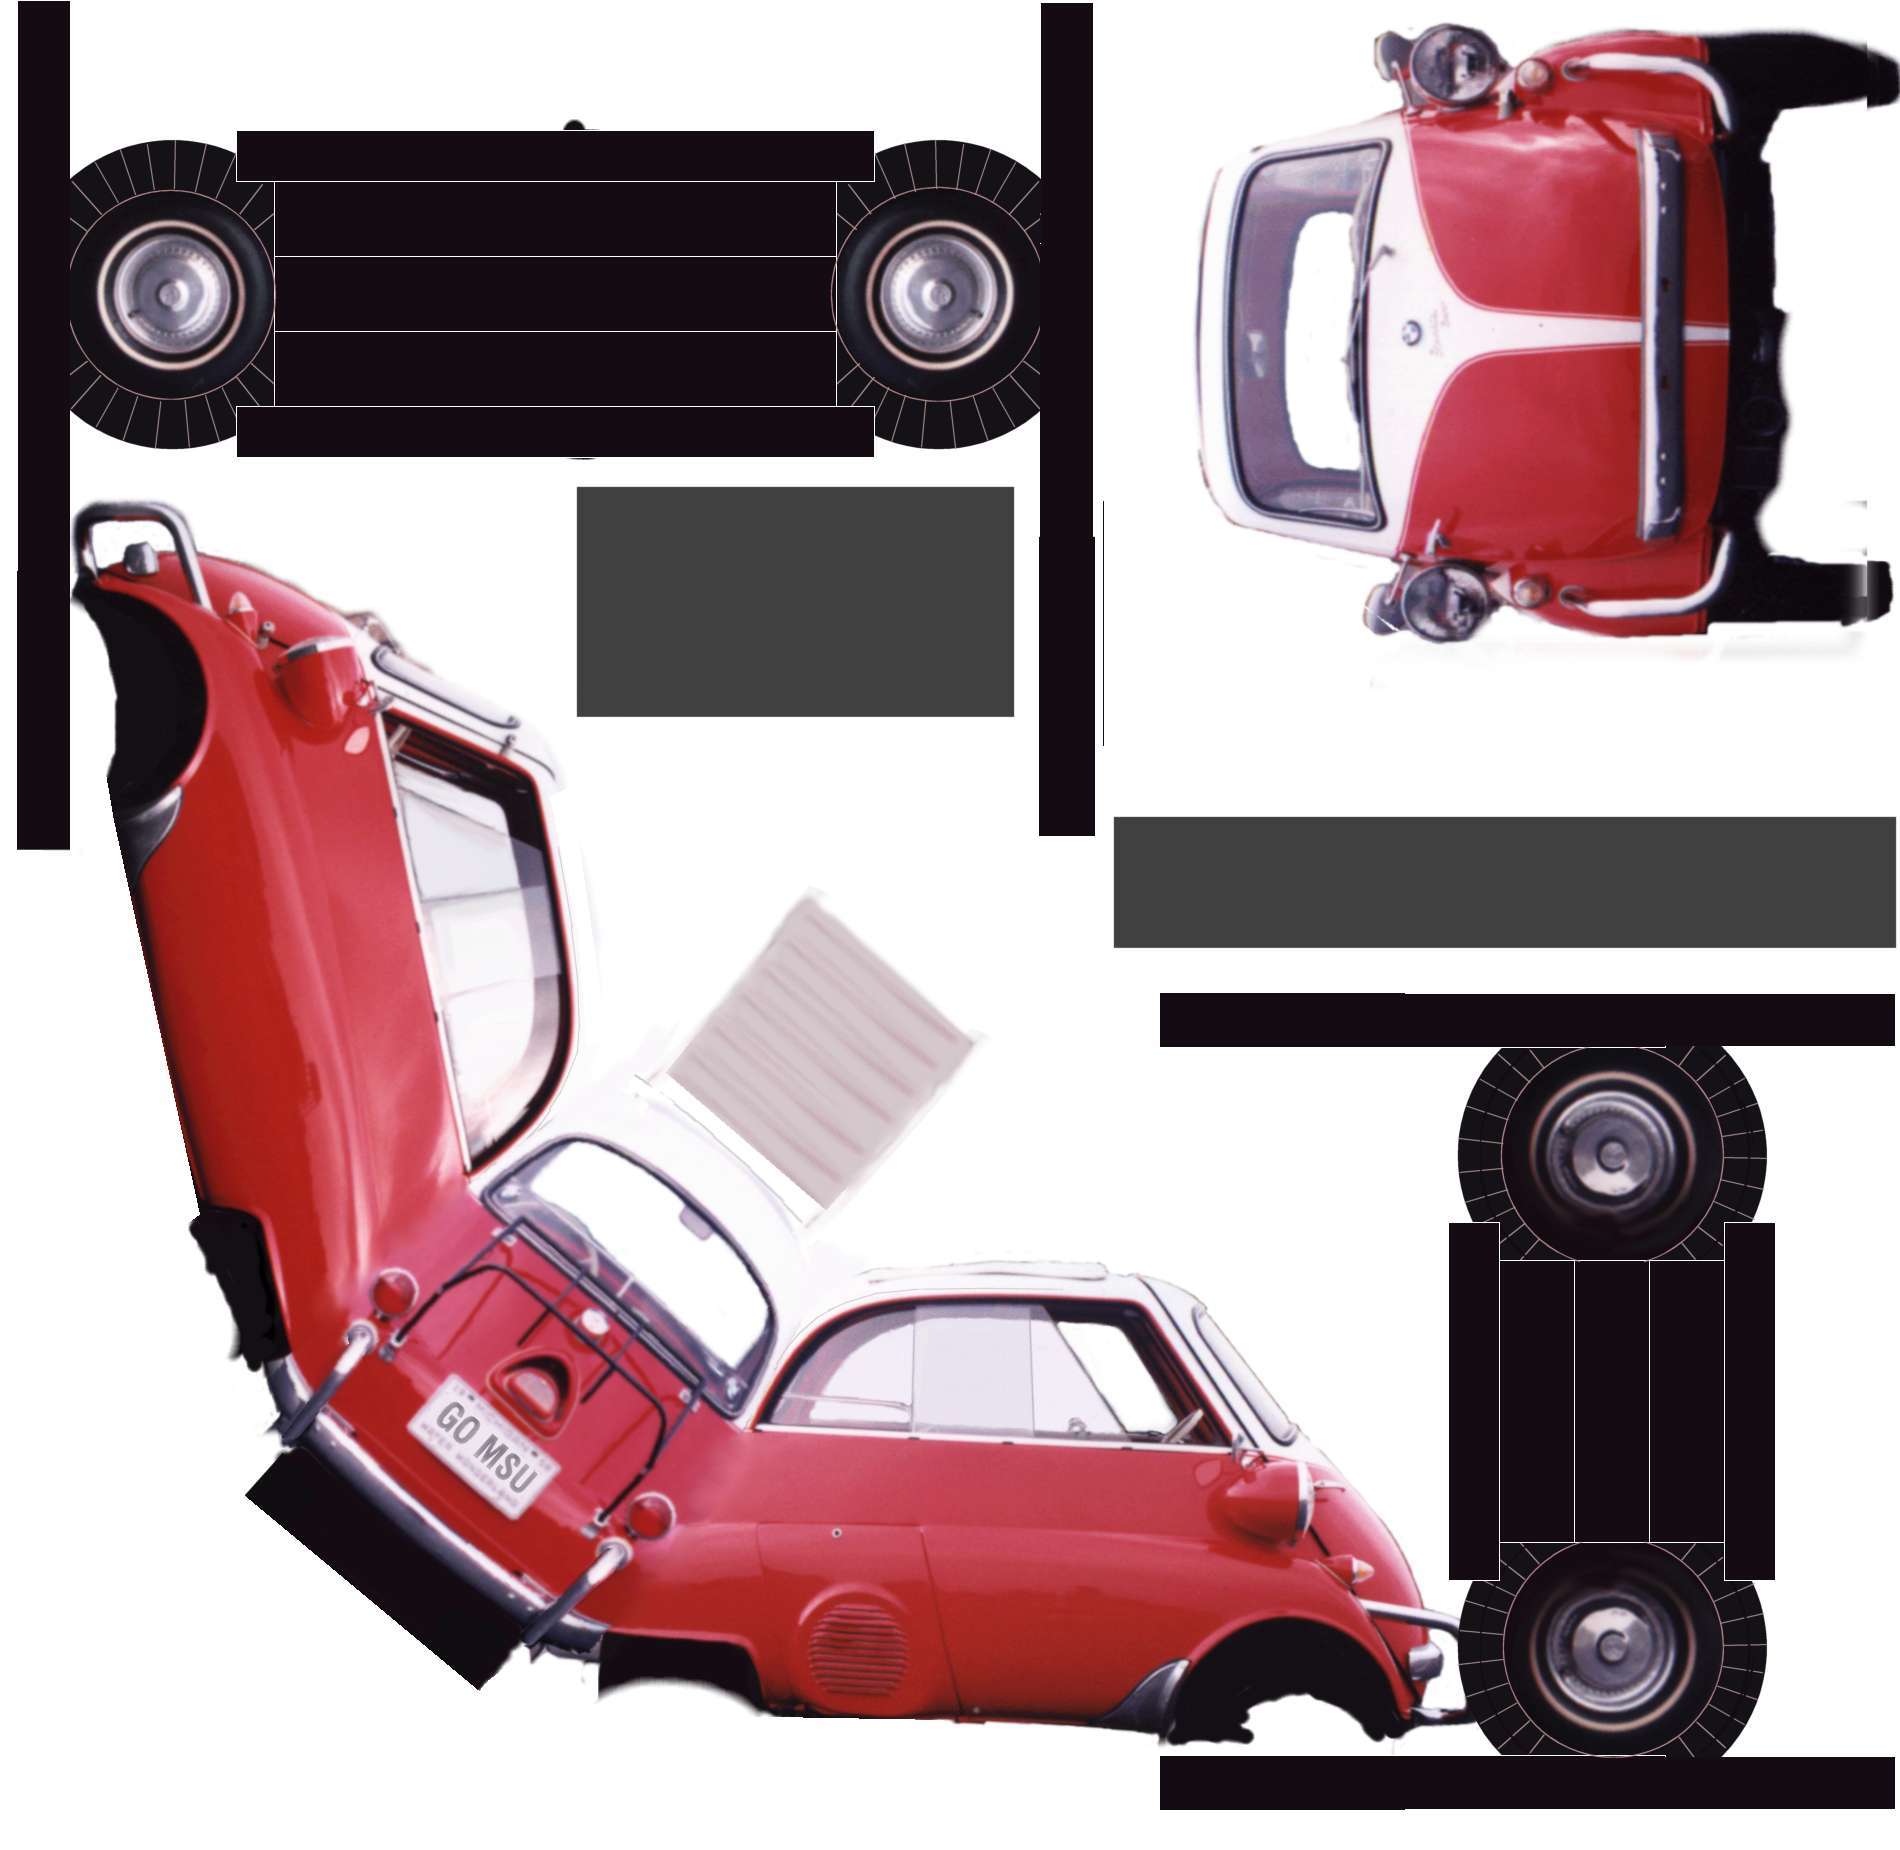
A while later someone else sent me one of these
(Actually it's a Velam.
Live and learn. This image comes from a Japanese CD-ROM called Digital
Paper Car illustrated by Mizorogi Akira) but frankly even though
it's a vast improvement, I thought I could do better.
I figgured that I'd just grab some suitable pix off the net, do a little
adjusting with Paint Shop
Pro and have a cool little paper model. It wasn't quite that simple.
There are plenty of pictures of Isettas out there, but to do it right
I needed clean uniform shots of all four sides of the vehicle.
After surfing around a bit I came across Bob Nelson's cool Isetta
300 page, and contacted him about my little project. He was enthusiastic,
and a couple of weeks later I got an envelope full of pictures.
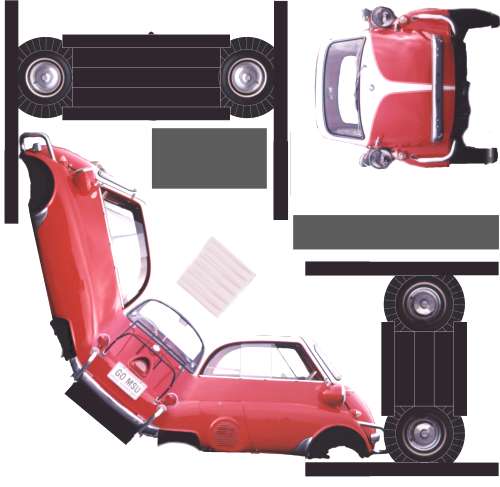
After poking around on them for a couple of months I came up with this
horrendously complex little item. I've made a bunch of them up while
trying to find the best placement for the cut and fold lines, but I've
kind of hit a plateau, so I'm putting it up for "beta" testing and public
comment.
If you're interested in downloading the image and trying to fold one
up for yourself, You'll probably want to use the
High Resolution version. (choose <File> <Save As>,
and then open with your favorite graphics program) (but
wait) The file is LARGE (168k - 1900 x 1850 pixels) so that it will
have good resolution when printed out. I don't know if people will have
any problems because their printers and/or graphics software work differently
than mine, but if you can "fill page" and "preserve aspect ratio" when
you print it out you should be all right.
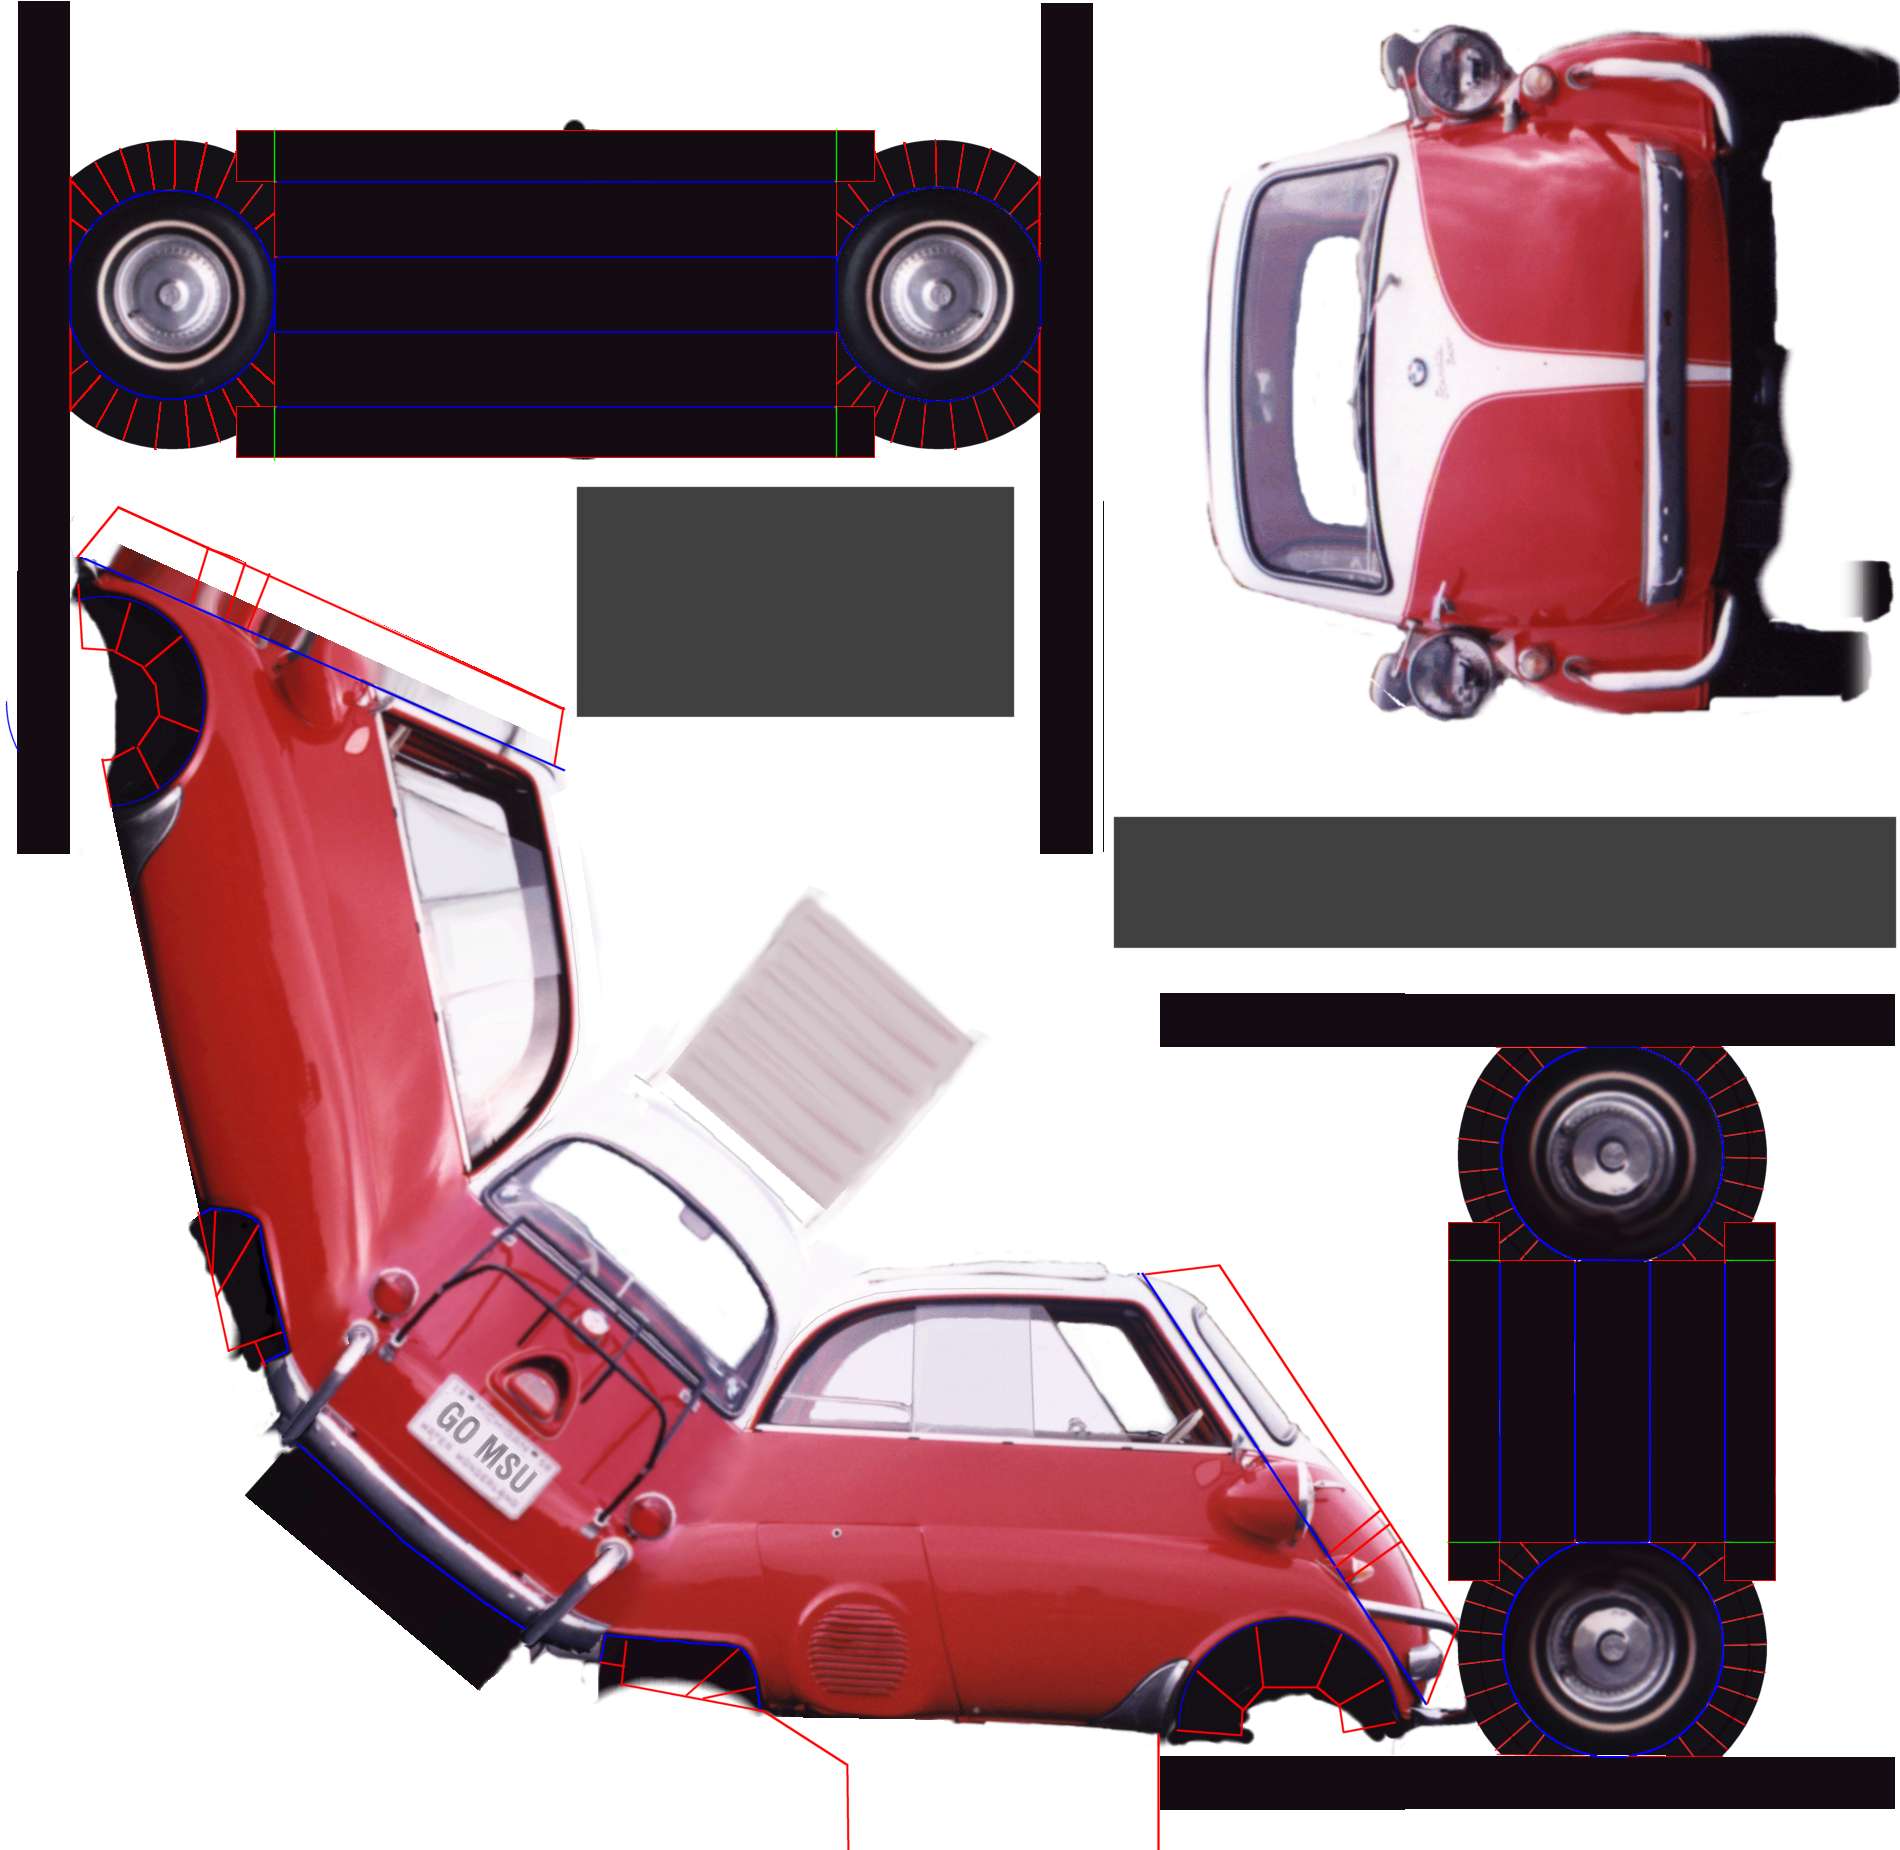
There's a version of the graphic with clearer
cut and fold lines. It's a long way from complete, and I welcome any
thoughts or suggestions, but here it is(169k).
Red means CUT
Green means FOLD UP
Blue means FOLD DOWN
When folded as I do it, the axles are triangular beams which have
tabs sticking out of either end. These tabs are folded back and glued
to the back of the tire face.
The tabs surrounding the tire are folded back, and glued to the long
strip (the tread) which is wrapped around and glued to the top of
the wheel (keeping this all aligned squarely while the glue sets up
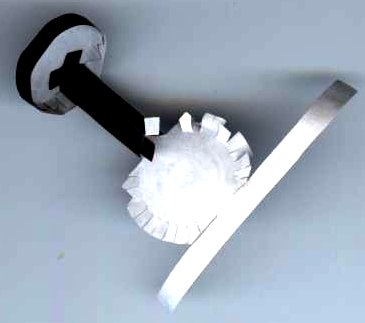
is the trickiest part). If folded and glued correctly, the axle assembly
is rigid and strong. Here is a picture showing one wheel
and the axle folded and glued, and the other wheel cut and splayed.
When assembling the wheel, don't fold the tabs back all in a row,
rather jump around, and fold them back one at a time. This will help
keep the wheel flat. The REAR (short) axle's tread section is not
long enough, so leave a bit of extra length on the end away from the
body on the cutout sheet (Hunh?) so that it will wrap all the way
around the wheel.
The fenders are cut in a radial pattern and folded back, the tabs
thus created are then glued to strips made from the grey blocks on
the sheet. (I haven't sized these yet, so you'll have to fit them
by hand.)
The axles are supported on the inside of the body by either gluing
them directly to the inside of the fenders, or hanging them from straps
glued in place for that purpose. I've done them all fitting by hand
so far, so you'll have to make do as best you can. Here's a picture
of the bottom of an earlier prototype
to give you some ideas.
The roof, and bottom of the car have not had the lines laid out
yet, but are similar to the second cutout at the top of this page.
The front of the car is currently flat, and is simply glued to the
folded over section that's in front of the door seam in the side view.
Eventually I want to build a compound curve into the front door so
that it bulges like the origonal, but I want the rest of the car to
be more stable before I lay down lines for that.

